Rebuilding an engine
Can’t be that hard – can it?
By Barry Mather.
In mid 2020 I made the decision to rebuild my Honda K20A2. While it was not making any bad noises or was particularly down on power it had had a tough life. I bought it circa 2016 condition and milage unknown from a wrecker and it came marked as being from a 2004 Integra DC5R. There were some indications that it had been opened previously such as the wrong colour sealant around the timing chain cover, but it worked well.
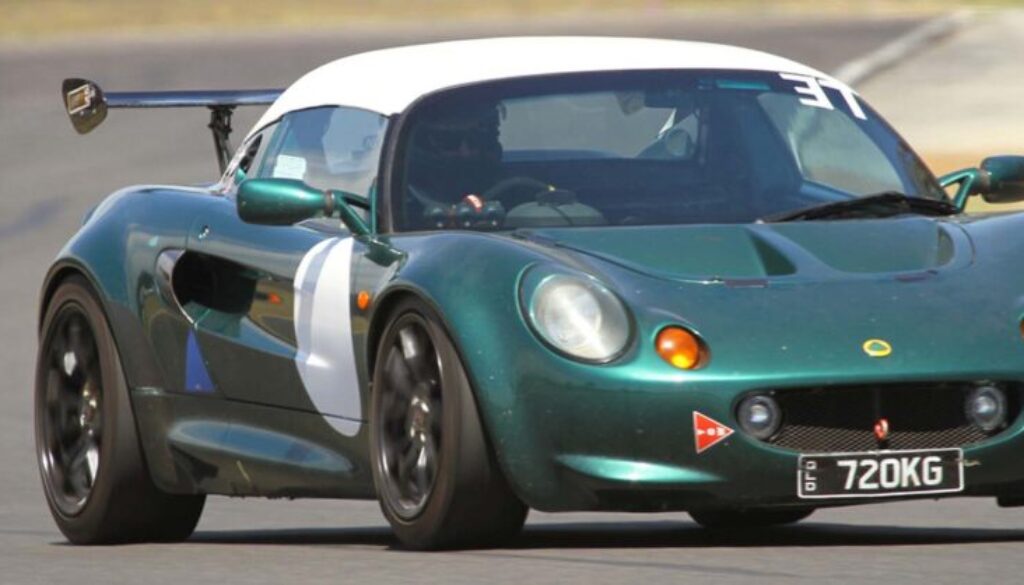
Over the years I had run both normally aspirated and turbocharged, then back to normally aspirated in my Elise S1 and it had seen MUCH punishment on track – in fact this car is used mostly as a track car now. So it was time for a birthday.
I researched and researched and finally decided on 12.8:1 Arias Pistons, BC Rods and Drag Cartel 3.2 cams along with all new guides, chains, bearings, valves (and springs) and pretty much anything else that moved was sourced. Everything was ordered from Real Street in the US and turned up quickly.
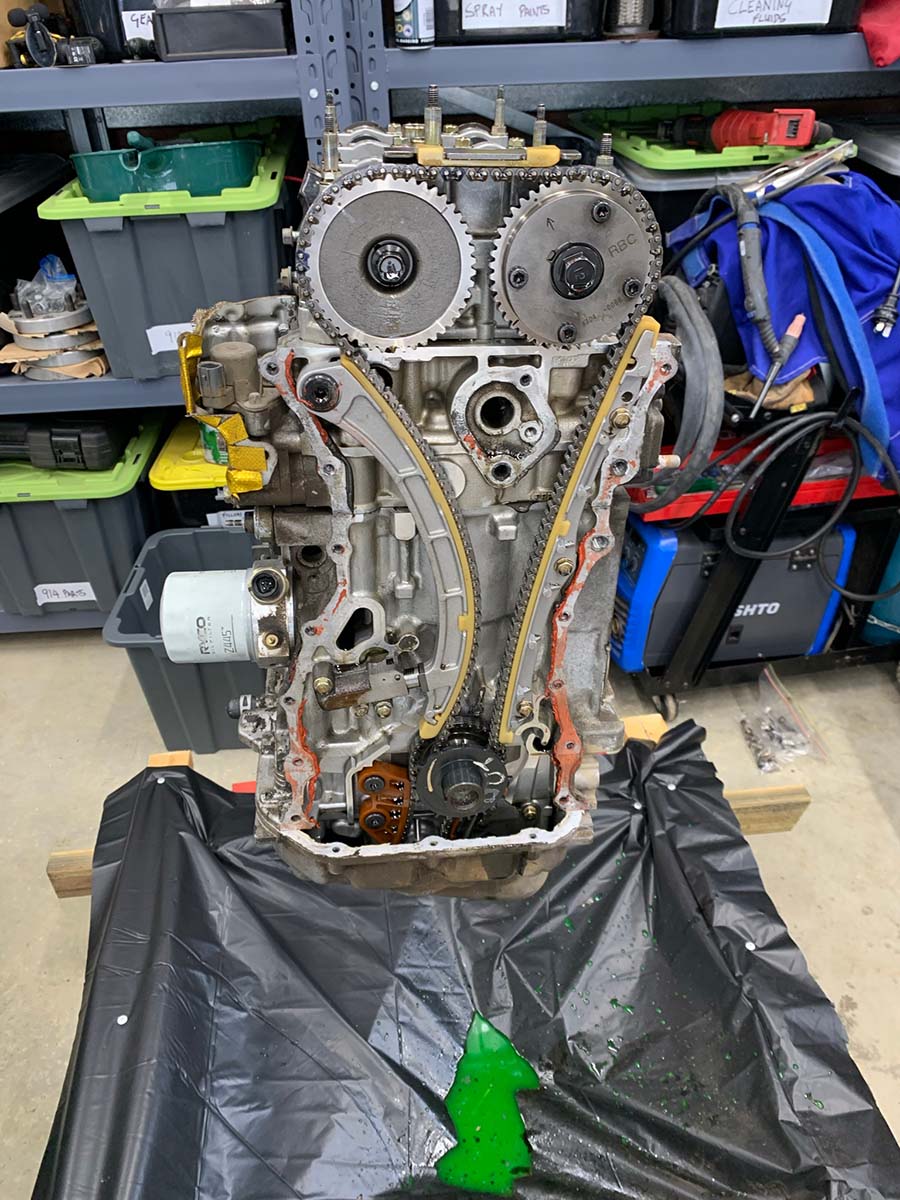
Removing the engine isn’t a big deal from the Elise chassis – clam off, disconnect everything and yank it out with a crane – and a few hours later it was on the engine stand getting torn down. I made up a wooden frame and loosely stapled thick plastic to create a large drip tray – it worked really well!
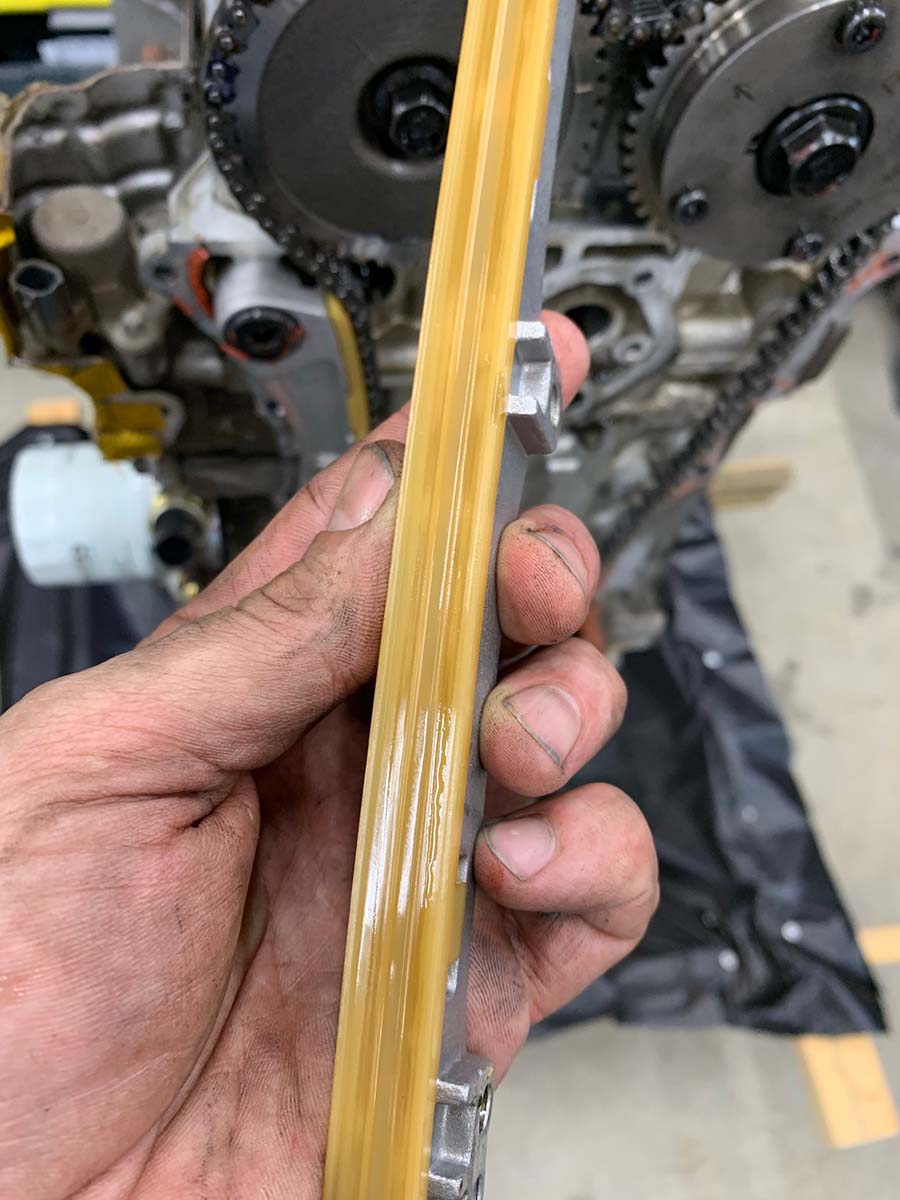
But, the engine looked clean inside and parts had very little wear on them. The chain guides and big end bearings etc. had hardly any wear!
I continued to pull the engine apart, carefully labelling the parts in snap lock bags and trying to keep the environment ‘clean’.
At this point in time a K20Z4 block came up for sale with big end bearing knock – I took a chance on buying it cheaply as it was extremely clean, but was undecided on if I would use it.
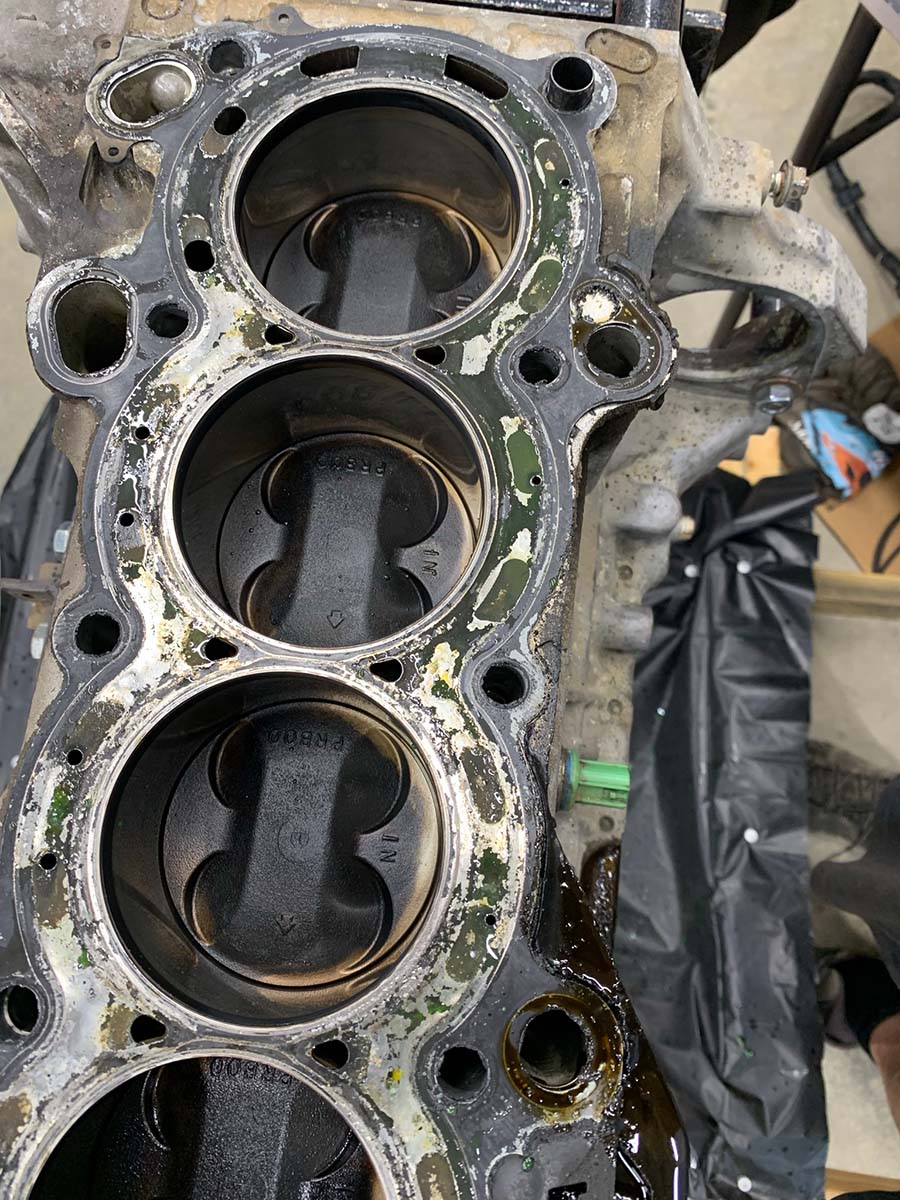
Further evidence was uncovered the engine had previously apart when I pulled the head off and was greeted by a TODA head gasket! The cylinder bores looked ok, still lots of cross hatching with a minor amount of carbon build up at the top – nothing a very light hone wouldn’t take care of.
When pulling the head apart I noticed the first bit of wear that would need to be addressed – the exhaust valve guides were very slightly oval – enough to warrant the guides being replaced, so the head was sent off for a hot tank clean, skim of the deck and replacement of the exhaust valve guides.
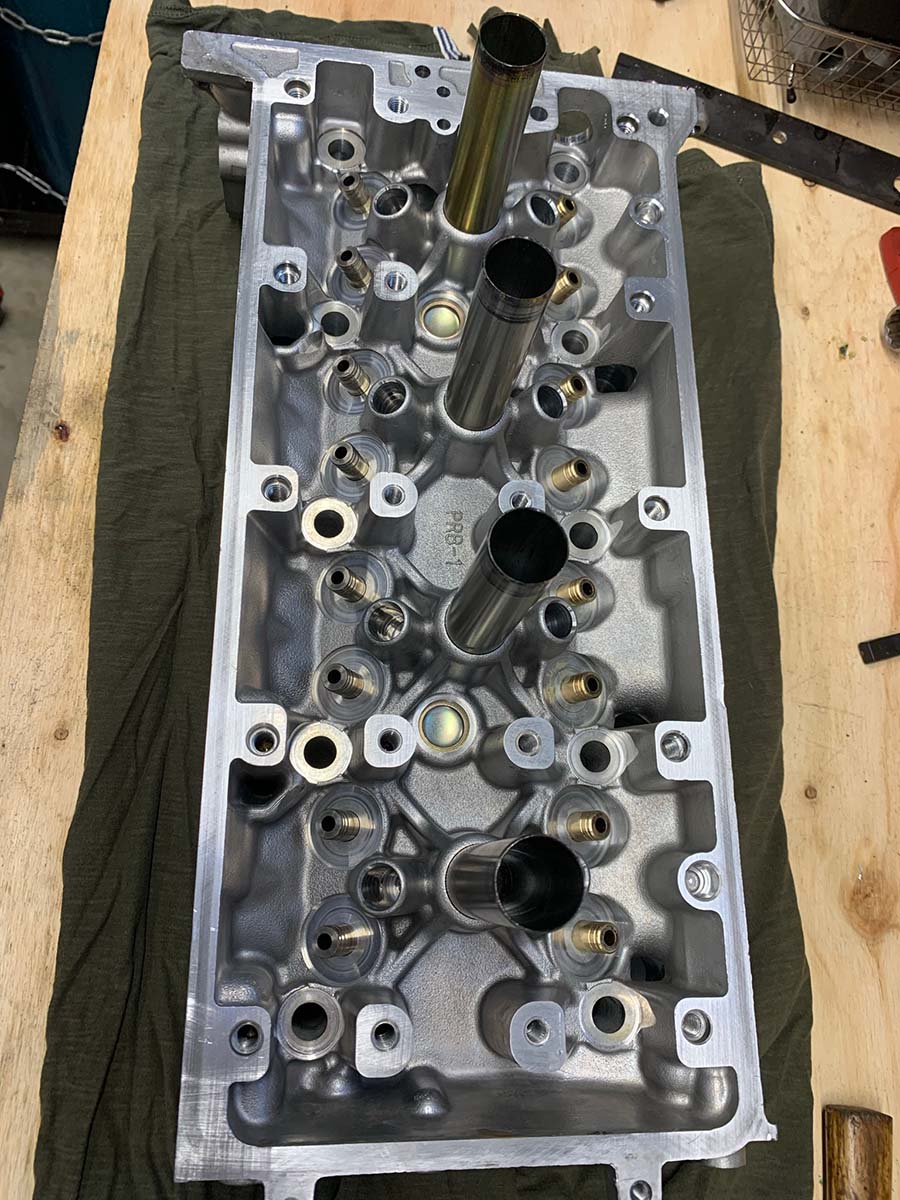
A couple of weeks later I received back a very clean and shiny head …
If anyone is looking for quick and professional service in northside Brisbane – check out PEACH Performance Engines in Stafford.
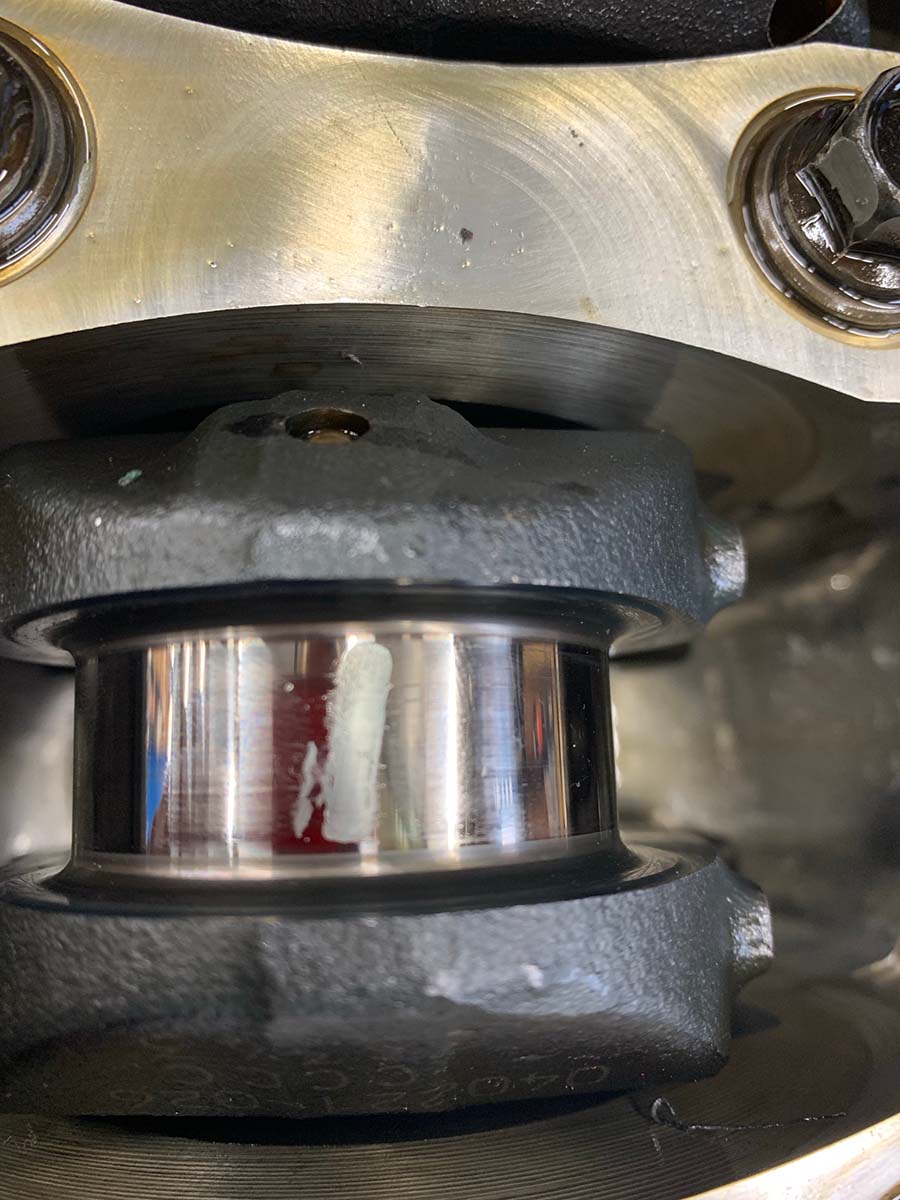
There are a few differences between the blocks, but they are very minor and wouldn’t factor into a decision point. The decision came when measuring the main crank journals with the new bearings. Here is where it gets a bit more complicated…. Honda have a system of different sized main journal bearings – they install whatever bearing size is required for that particular crank grind.
So I installed the new bearings, which were only available in 1 size from ACL, and plastigauge told me that the Z4 block was the way to go – all the tolerances were right in the middle of the spec range. After that decision was made I cleaned the Z4 block and gave it a very light hone with a 3 stone drill operated tool and lots of lube. The cross hatching looked good before, it was just a case of taking the glaze off and the small amount of carbon build up.
After cleaning it again, and with the crank installed I plastigauged the big ends and again, everything right in the middle of spec. Plastigauge is a great invention – it’s a ‘calibrated’ piece of wax string that you cut a short length of, place it between the two surfaces you want to measure, toque the bolts and make sure to NOT rotate the crank, then take it apart and measure how squashed the wax is against the chart provided on the packet … that’s it!
Just clean off the wax, assembly lube the crank and journal and reassemble.
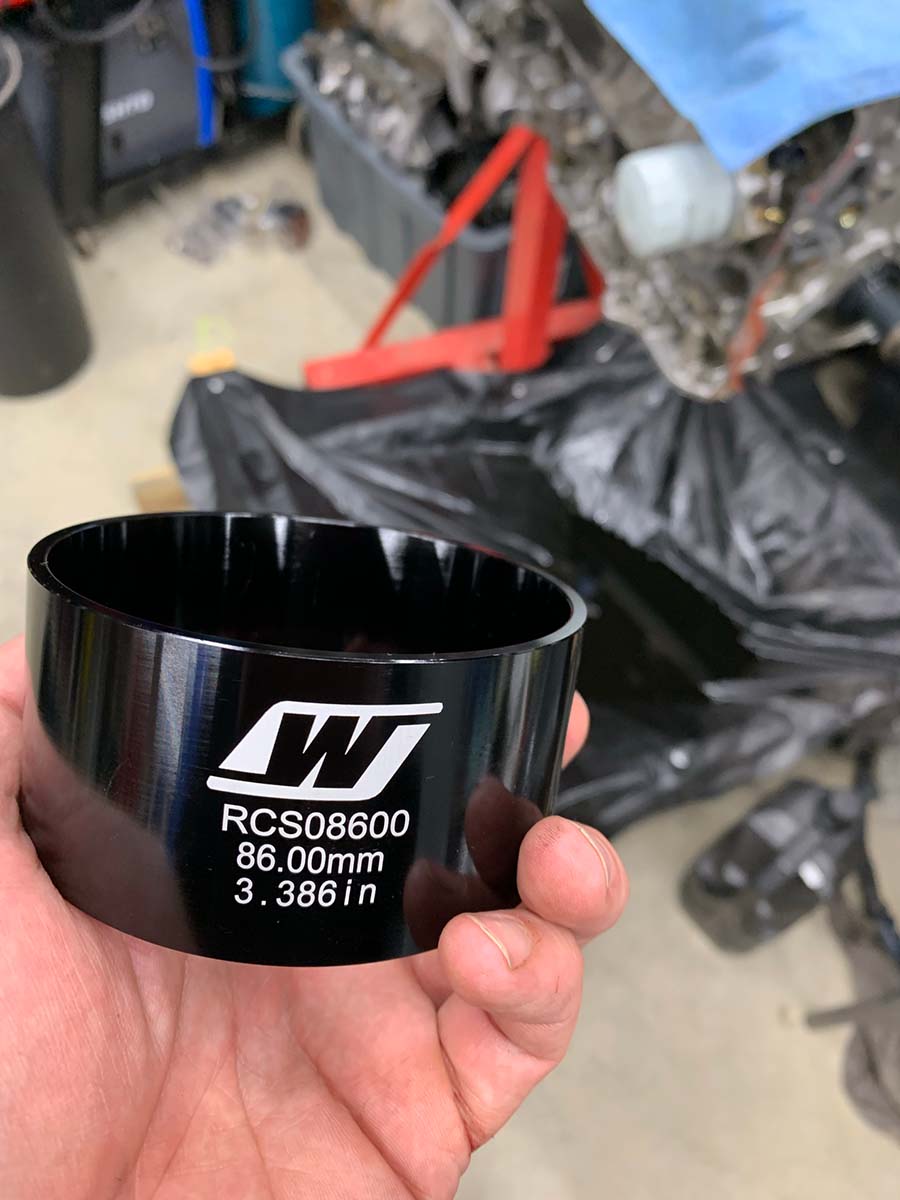
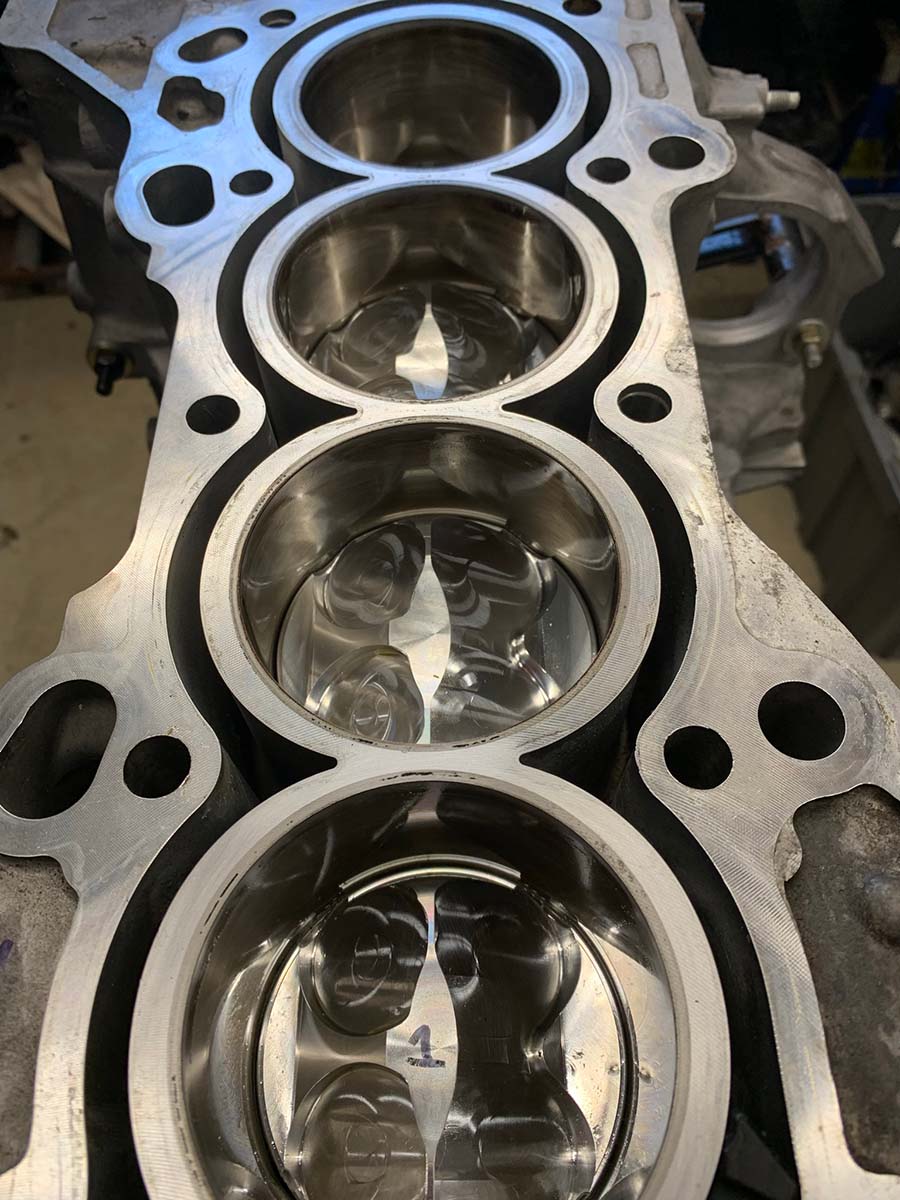
The pistons had their rings gapped to the specifications provided by Arias for normally aspirated configuration, rods attached & they were carefully slid into the block.
I’d bought a Wiseco 86mm piston ‘installer’ for the task and it was so utterly easy. It’s a conical shaped cylinder that you place on the block, lube up the piston and rings and slide it in – the conical internal shape compresses the rings and lines it up with the cylinder bore. Easy!
The rods had their ARP2000 bolts torqued up and that was that – bottom rotating end completed.
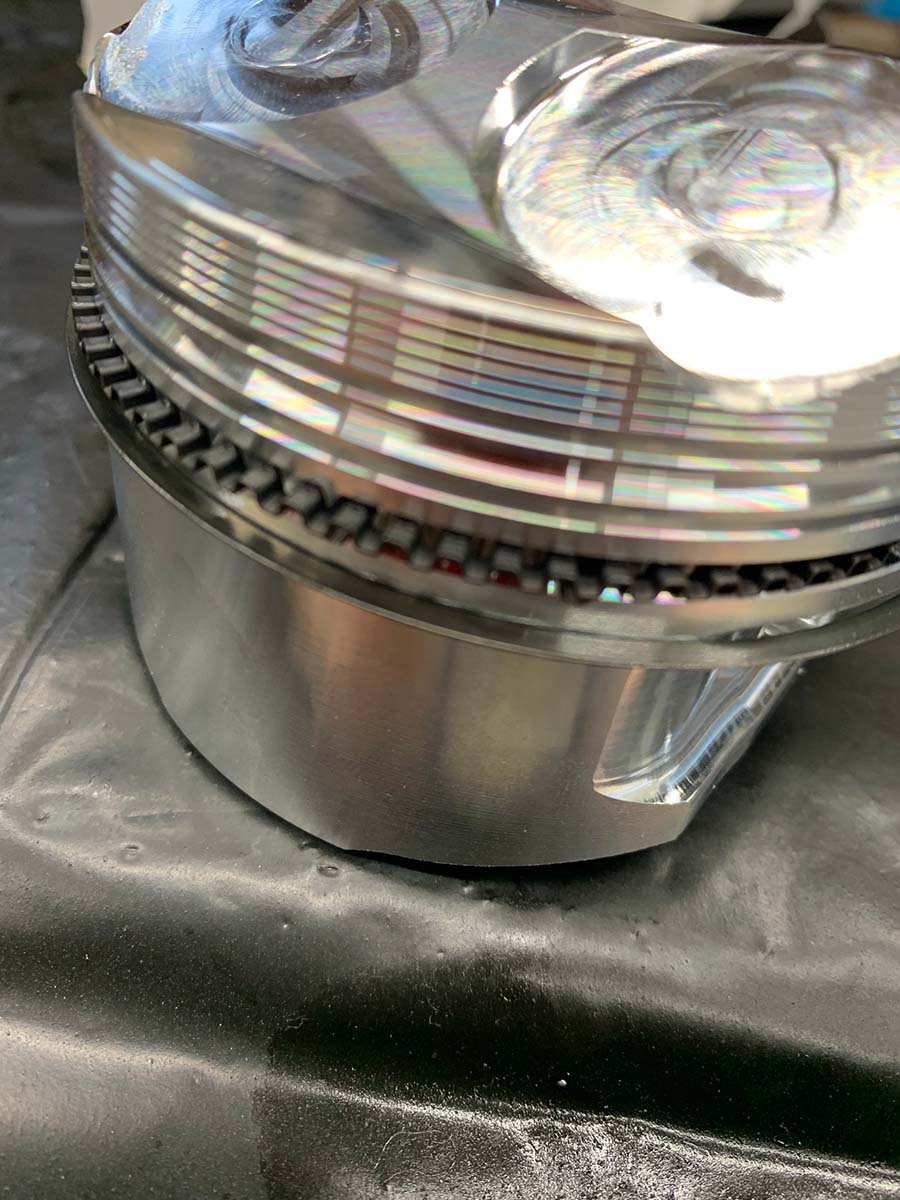
The pistons have quite the peak on them to achieve the higher compression ratio (standard on an Australian K20A2 is 11:1) with large reliefs for the intake and exhaust valves. There are a few sharp edges that were a little cause for concern as potential heat spots for pre-detonation, or pinking if your from the homeland. But they are shiny …
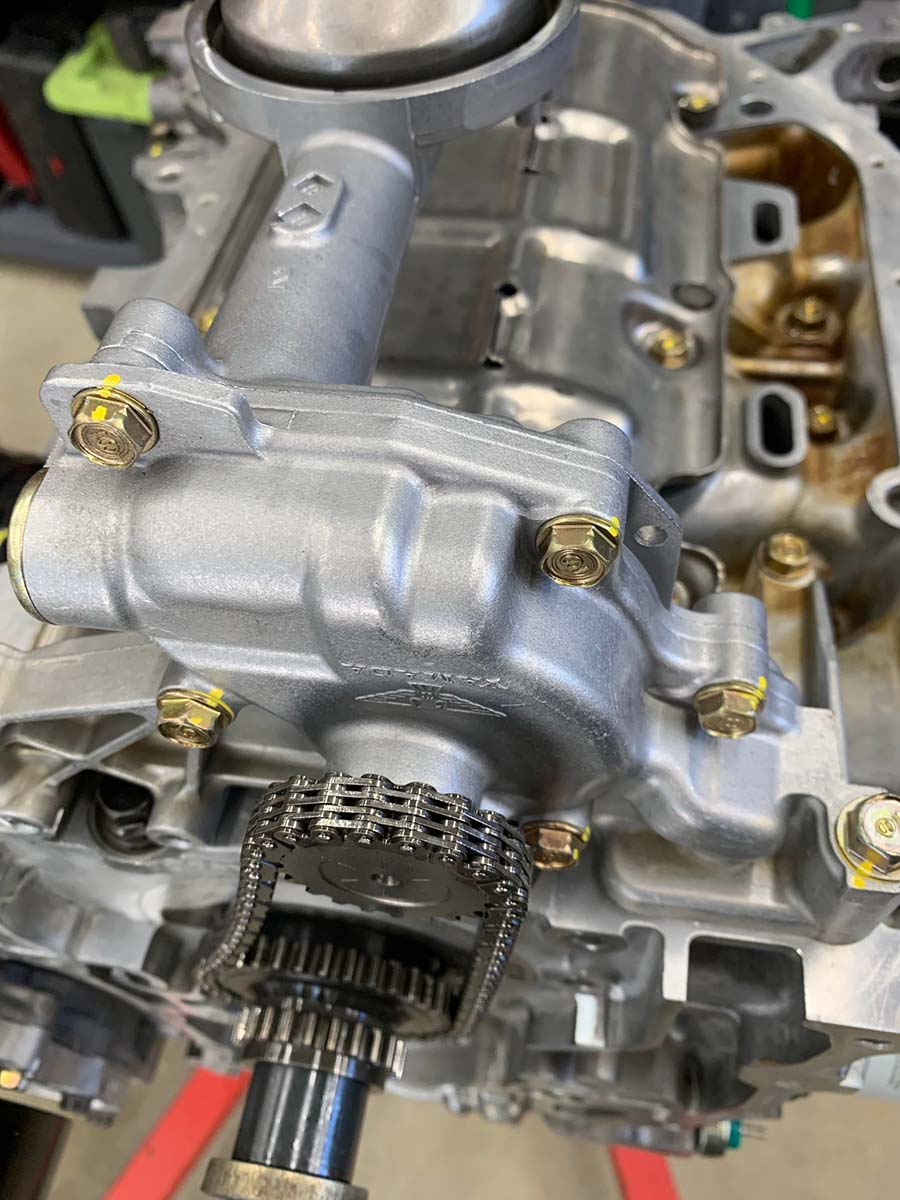
One of modifications required to the Z4 block is to swap to the K20A2 oil pump. The Z4 has a large oil pump with a balance shaft built in. They are known weak points for high rpms and its an easy swap. There is a small oil passage way that on some blocks is tapped, others require tapping to be blocked. And the A2 oil pump needs to have some webbing clearanced to fit on the Z4 block. Easily done and the cleaned A2 pump is installed with its chain.
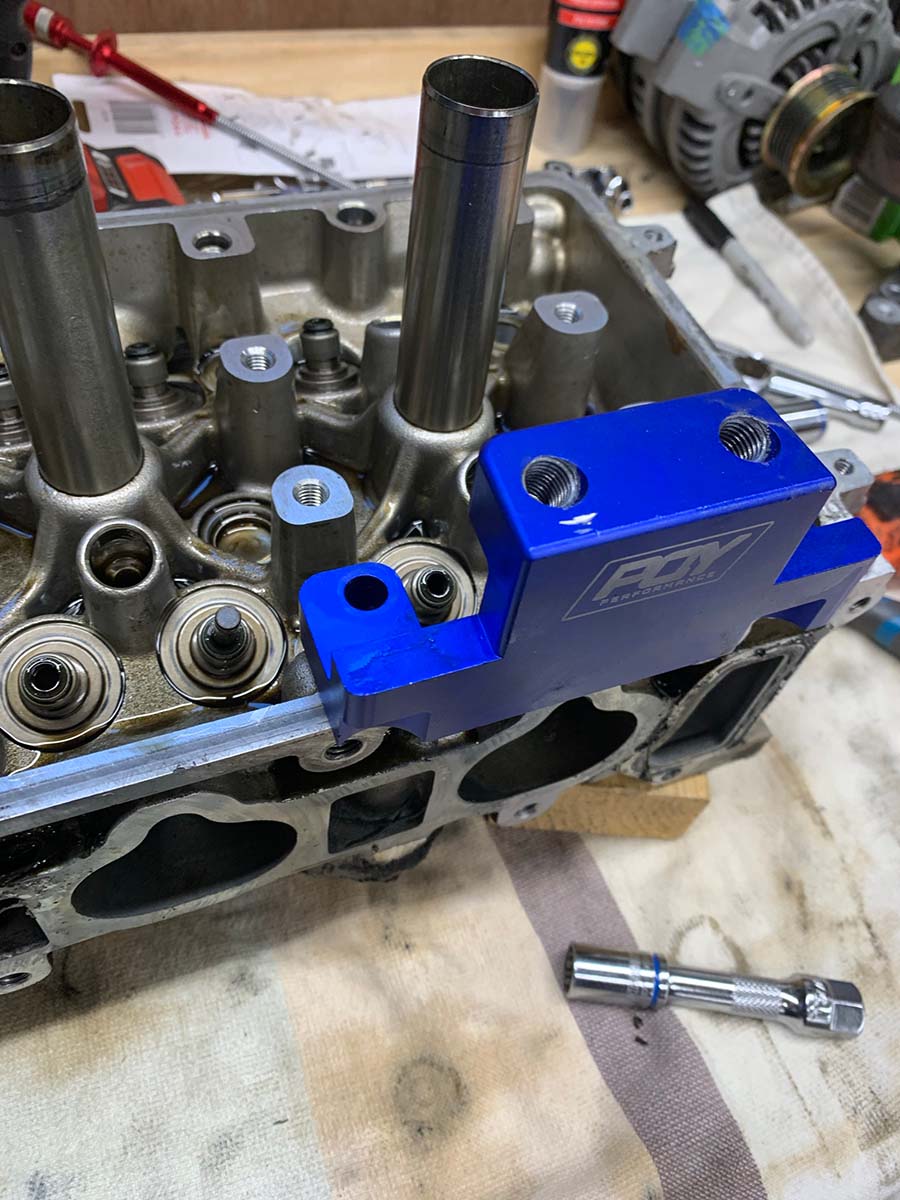
Next it was onto assembling the head. I’d bought this cheap tool that worked perfectly for installing valve springs. It bolts to the head and you run a bolt through the top part onto a tube with a window cut into the side to allow spring to be compressed while the keepers are carefully slotted into place. This tool will enable spring changes without the need to remove the head if you pop a little compressed air into the spark plug hole.
So, new valve seals, Supertech springs and Ti retainers done … it’s a thing of beauty!
I also replaced all the lost motion springs and retainers. They keep part of the VTEC mechanism from flapping around when not in use, mine were quite worn.
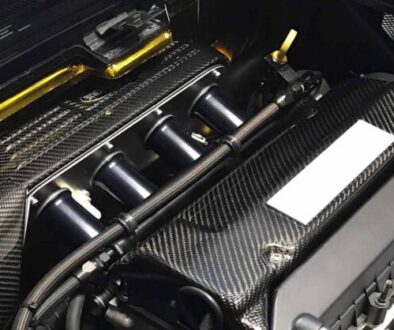
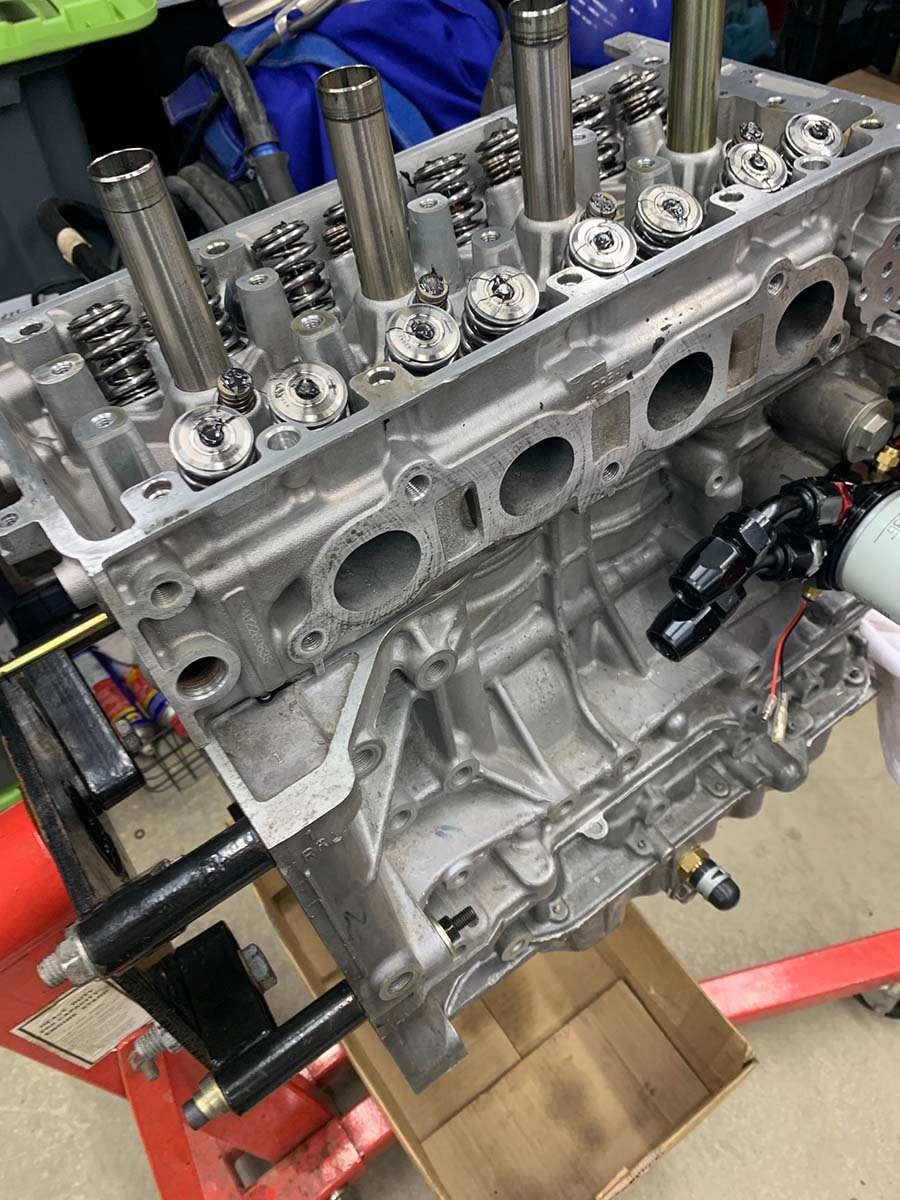
This shot shows the head installed with new OEM head gasket and OEM head bolts torqued to spec. the rest is easy bolt on ‘stuff’ – water pump (new) and cleaned housing. Drag cartel cams are easy swap in along with new cam chain and tensioner and everything sealed up (with proper grey sealant) ready to install back into the car.
I also installed a swivel coolant inlet to enable swapping of coolant direction around the car – it makes for a simpler coolant and hose routing pathway but can only be done if you remove the heater from the car – no problem for a QLD based car!
Here is where the story takes another diversion.
At the same time I decided to rewire the engine bay, along with installing a Haltech Elite 1500 ECU. Which took weeks of effort – but I’m now happy I have 2 connectors to electrically disconnect the engine from the car.
Everything was buttoned up and it was sent to the dyno for mapping. I received the car back and was told ‘guess the power’ as I had a sprint the following weekend. Where the car did not perform as expected. Power felt low although everything worked ok.
Tuner then reported it only made ~175hp at the wheels … not what was expected at all.
I checked timing and a million other things, everything was ok. Then I took (another) detour and installed drive by wire throttle … very easy with the haltech and enables throttle curve mapping for different driving modes. I used a Honda pedal to TPS sensor adapter under the dash to convert from cable throttle to electronic signal and a Commodore v6 throttle body, a 72mm Bosch unit that matches the new intake manifold. All up, a very easy install.
After another dyno session where it still only made ~175hp I decided to swap back out to the stock K20A2 cams. After some careful listening to the exhaust you could hear what sounded like an exhaust leak, but the exhaust (a very nice ‘over the top’ manifold made by Stone Brothers racing) was not the culprit. It turns out it was the huge overlap of the Drag Cartel cams – swapping back to stock cams and another trip to the dyno it shot up to 200hp at the wheels on 6 week old BP98 fuel.
Conclusion
Building an engine is not hard, at all. Give it time, the right tools and a little patience and anyone could do it. Especially if you’re rebuilding to stock configuration.
I am lucky enough to have access to a well provisioned workshop, with a medium sized ultrasonic heated bath cleaner – this was key to cleaning some parts and made the reassembly job a pleasure. I was very surprised at the condition of all the bearing surfaces after so much punishment, a real testament to the quality of these engines.
So, what’s next? Just use it … see you out there on the track soon, and if you see me in the pits – drop by and say hi!